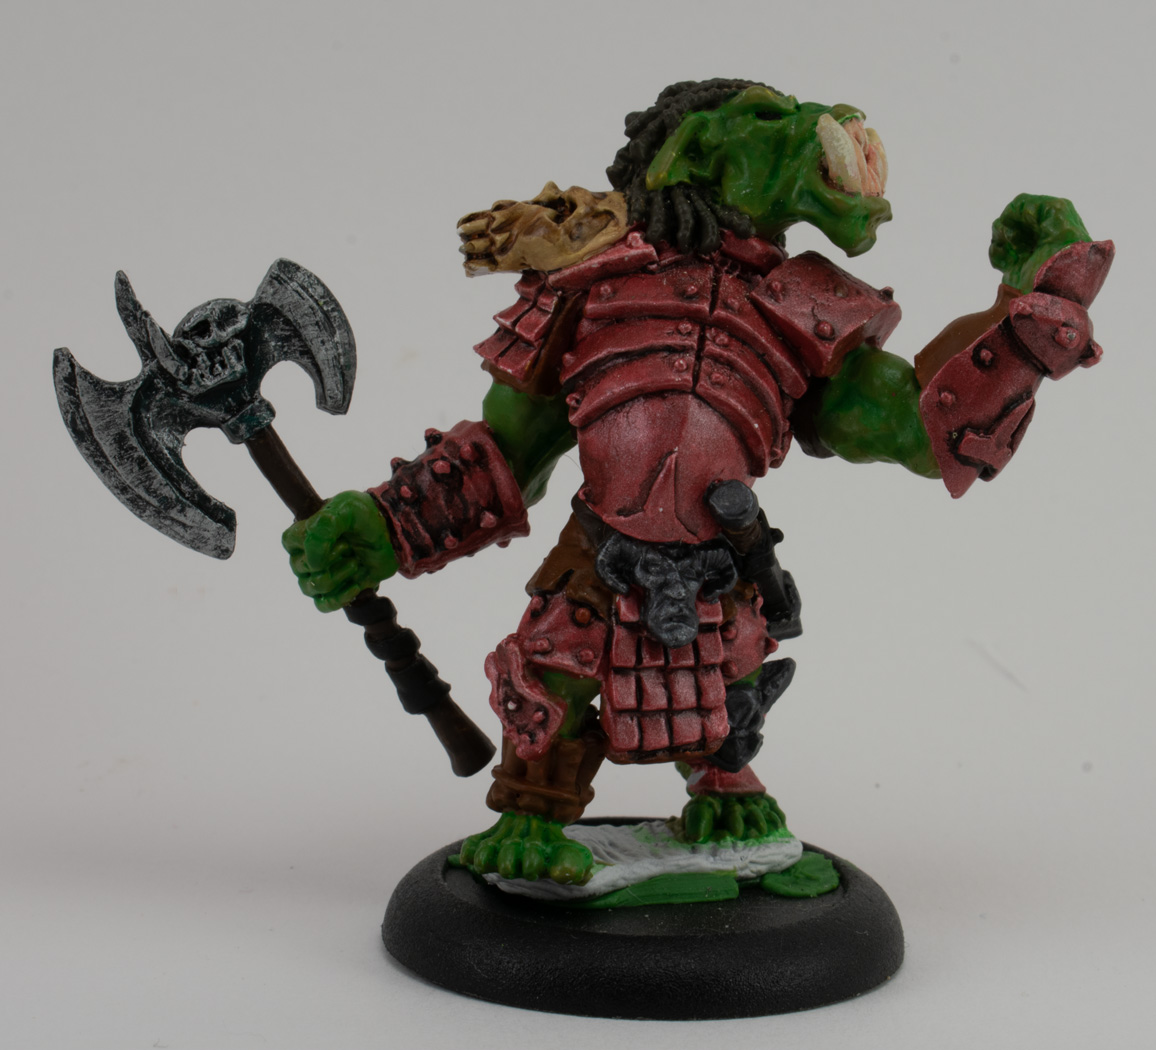
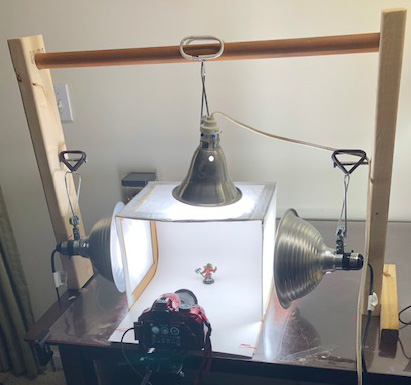
 camera charged and on line with table, short lens on bristol sheet. Mini on (X). Transfer to pics bin, open with PS, crop, edit, save to web as JPG (Very High, 80 quality, new width 1680, new height 1050 (whichever is lowest.) Save to web as Gif width 200 for thumbnail. save to /images/mini pics/
Primer notes: Krylon Fusion is primer and paint, works for metal well. Do not use on Bones PVC minis. Army Painter Primer is solid, works on everything. Prime in lower humidity and temp, nice day = nice prime. Distance from model is key, follow directions and try a test rock every time. Shake 2 minutes, set up spot outside. Spray across, don't start on the figure, start off and walk it across the mini. Shake between, and watch particle build up. Primer on humid days, or old primer, will spray tiny chunks of paint. It will look like sandpaper on the mini. You can brush the mini with a dry tooth brush and remove "some" of the texture without removing the primer. It works for areas you want to be shiny, it will buff up before you apply first base coat. Test primer before every job, prime a rock and toss it.
Still love Gesso for touchup, but I need to find a better way of priming. My way is too weather dependent. Try some new Gessos this summer.
GUNK = 5:4:1 H2O: Flow aid: Retarder - currently using Liquitex Flow Aid (diluted 20:1 H20:Flow) and Liquitex Slow-DRI Fluid Retarder. Base coating is best done in layers, with a thin coat several times. Thick coats fill gaps, and make a great sculpt look average.
Brush care: Don't ever stand up a brush in a water cup, the bristles will form a hook, and it can't be fixed. If you are done with a brush: clean out the paint, dip in water and wipe on paper towels. Clean till nothing wipes off, dip it in the water cup, and leave it on the cup sideways till it's time to clean. Between colors same. End of the session, clean cup, palettes, in sink, using a sponge impregnated with prior dawn soap. Clean the brush in palm, under running water, not too hot (bristles glued in brush can come loose.) Wipe brush in B&J Brush Cleaner. 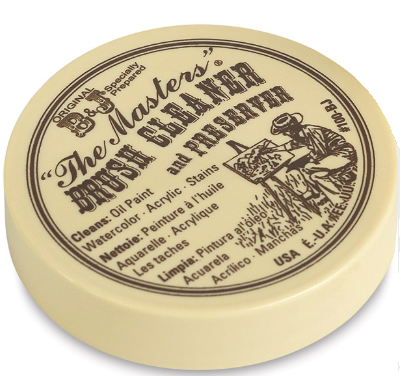
I clean brushes with B&J every time I use them. I gunk them again after cleaning them, and shape the brush head and leave it to dry with the cleaner on it. If I come back to the brush five years later, it still has a good point. Clean a brush like you paint with it, don't crush the bristles. Don't leave your tips touching anything, dry or wet. It will save your brushes for years.
The PVC plastics used by Reaper for their Bones minis are hydrophobic. You can prime them with a primer that does not contain Acetone. Most spray primers do contain acetone, and acetone melts pvc. I use Army Painter primer for Bones. If you do not prime Bones, you can paint them, however you cannot use thin paint for base coats. You must use thicker paints, with low additives. Is the mini super important? Prime it. Is the mini for your daughter to paint 1 entire color? Skip the prime.
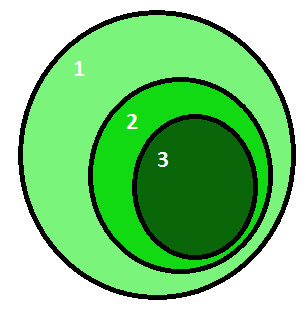 One color, thin, and only layer portions of it, will get to whatever shade you want. Remember this when basecoating, as opacity is a factor of whatever color you are painting over. Side note: Always use dark basecoats under metallics.
I am doing several sample washes over the same basecolor (P3 Menolith White Base.) Bases are made from Souffle Sculpey (300 for 20 minutes at least) and Greenstuff. Primed with Krylon Fusion. Side Note: Paint was super hydrophobic. Paint went on super easy on another K Fusion primed model, perhaps my primer is going bad.
1: Armor wash, tap


2: VD, tap


3: Armor wash, dist


4: VD, dist


5: Armor wash, dist, wet area first


6: Armor wash, flow in Gunk


7: VD, dist, plus a toothpick tip of Dawn soap


8: Liquitex Transparent Burnt Umber ink, dist


9: VD, dist, wet area first, plus a toothpick tip of Dawn soap


Acrylic paint is some color from pigments (like burnt wood, dirt, or beetle shells) and some binder to keep the pigments from pooling up in and looking patchy.
Water changes viscosity without increasing the amount of binder. Too much water and the binder cannot function, and paint will be patchy. Too much water in a wash makes it behave like crap.
Medium is binder. So, matt medium or glazing liquid (like from Liquitex) is just paint without pigment. Matt medium added to a wash helps to make it behave like paint, with less pigment. That is what a glaze is.
Flow aid are surfactants, which help to reduce the surface tension of fluids. The paint can stay suspended in the binder, not floating on top or pooling.
Stripped off the paint from the previous base pucks. Clearly I am doing washes wrong, however at least I think I understand the chemical composition of washes. I'll be using different colors, with the following set ups: tap water, flow-aid, 10:1 and 5:1. The following again applies to all below: Paints are identified for each trial. Flow aid is Liquitex in my standard Gunk. Wash to me is a ratio of 1:10 of paint:water, but I'll vary that to fit the next sentence. I check a wash over typed print, to see that it is entirely translucent. It should not hold up on a palette wall, it runs back in with little left behind. All pictures are wet then dry. I am doing several sample washes over the same basecolor (Vallejo Heavy Blue Grey (72.144)) Bases are made from Souffle Sculpey (300 for 20 minutes at least) and Greenstuff. Primed with Army Painter Matte Skeleton Bone. Side Note: Paint was super easy, way better than in previous experiment. Base color went on easily, and primer was thin and toothy.
1: GW Base the Fang, 10:1 gunk
2: GW Base the Fang, 10:1 gunk, wet areas expected to be higher concentrations
3: Golden Phthalo Green (Blue Shade), 5:1 gunk
4: Golden Phthalo Green (Blue Shade), 10:1 gunk
5: MSP Sparkling Blue, 10:1 gunk
6: Didi's Magic Ink, straight
7: Army Painter Venom Wyrm (WP1461), 5:1 gunk
8: Army Painter Venom Wyrm (WP1461), 10:1 gunk
9: Golden Carbon Black, 10:1 gunk